
Training

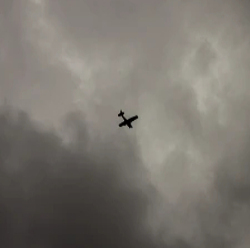
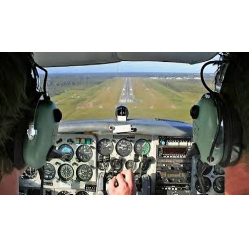
Flight Training
Find out More

Online Learning
Find out More

Aerobatic rating
Find out More

FI Refresher Course
Find out More

Radio Navigation Certificate
Find out More

Ground Instructor Certificate
Find out More

Flying Companions Course
Find out More
Safety
AOPA Strasser Scheme
Find out More
UK Distress and Diversion
Find out More
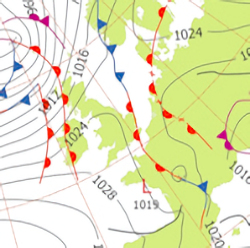
Weather Services
Find out More
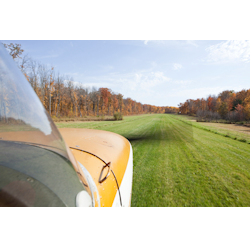
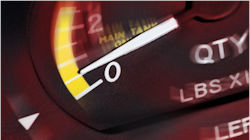
Personal Minimums
Courtesy AOPA USA
Development
Development opportunities and support
AOPA Wings Scheme
Find out More
Personal Instructor Service
Find an Instructor
Personal Examiner Service
Find an Examiner
Information

Pilot Tips
Emergency Procedures
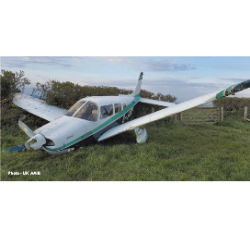
Occurrence Reporting
UK CAA Infringement Process